Why I Switched to DIY Flaxseed Gel for my 2c/3a Hair
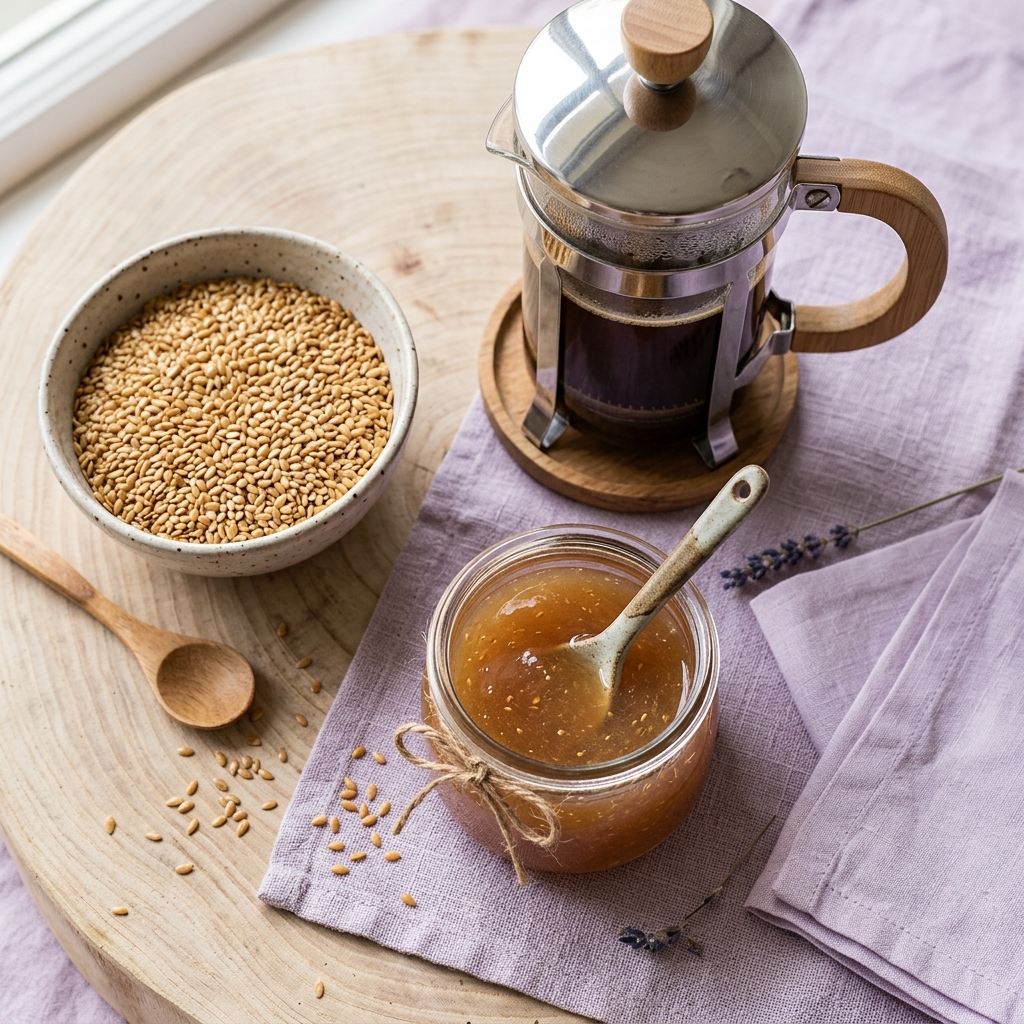
If you have wavy or curly hair, you probably know the struggle of finding a gel that actually gives you a decent cast. For my 2c/3a hair, most "natural" products were either too heavy or just didn't hold. And once I realized I was developing an allergy to acrylates, the search for a store-bought gel that worked became impossible.
Almost every commercial styling gel, gel-cream, mousse, and curl activator on the market relies on acrylate polymers, specifically VP/VA Copolymer, Acrylates/C10-30 Alkyl Acrylate Crosspolymer, or Carbomer, to create film-forming hold. When you diffuse or air-dry your hair, those hair products touch your scalp, forehead, neck, and shoulders. For someone with an acrylate sensitisation, hair products are one of the most common causes of unexplained facial and neck rashes.
I actually started making my own flaxseed gel a couple of years before the allergy even showed up. I was just tired of my favorite products getting reformulated or the prices jumping up, all while my hair was getting more and more damaged. Now that I have to avoid acrylates, this DIY gel is my absolute staple.
The Quest for the "Cast"
The main reason I stick with flaxseed gel isn't just because it's safe, it's because it actually works. I struggled for years to find a gel that gave me that hard, crunchy "cast" that you can scrunch out once dry. This stuff gives me better definition and shine than any of the expensive synthetic gels I used to buy.
Flaxseeds (linseeds) contain high amounts of mucilage, a soluble fiber composed of polysaccharides that forms a viscous, protective gel when heated in water. As the gel dries on your hair strands, these natural polysaccharide chains bind together, forming a flexible film that seals in moisture and locks your curl pattern in place.
The Recipe (1:8 Ratio)
I’ve experimented with a lot of ratios, but this is the one that gives me the best consistency for my curls. I use a simple 100ml scoop (which is slightly less than 1/2 a cup) as my measurement base.
- 1 part (100ml) Organic Whole Flaxseeds (Make sure to use whole seeds, not ground flaxmeal)
- 8 parts (800ml) Water (Filtered or distilled water yields a cleaner gel)
- Optional: A couple of drops of Vitamin E oil or marshmallow root extract for extra slip and nourishment.
Method: Bring the seeds and water to a gentle boil in a saucepan, then reduce heat to a simmer for exactly 7 minutes, stirring frequently with a wooden spoon so seeds don't stick to the bottom. You want it to reach a thin, egg-white consistency. If you over-boil it, it thickens into a thick paste that becomes a nightmare to strain.
The French Press Hack: Forget straining through tights or a cheesecloth sieve, as it is messy, hot, and burns your hands. The absolute best way to strain it is to pour the hot mixture into a French Press coffee maker. Just push the plunger down slowly, and the seeds stay trapped at the bottom while the clean gel pours smoothly out the top. It’s a total game-changer.
Application Technique for Maximum Hold
To get the best results on 2c/3a curls, application method is just as important as the recipe:
- Apply the gel to soaking wet hair right out of the shower. Do not towel dry first.
- Section your hair and glaze the gel over each section using "praying hands", then rake it through to ensure even distribution.
- Scrunch upwards towards your scalp to encourage curl formation. You should hear a wet "squish" sound.
- Micro-fiber towel or cotton t-shirt plop for 10-15 minutes to absorb excess water without disrupting the cast.
- Air dry or hover-diffuse on low heat/low speed until 100% dry. Do not touch your hair while it's drying!
- Once completely dry and hard, scrunch out the crunch (SOTC) with a few drops of squalane oil for soft, bouncy curls.
Storage & Freezing
Since DIY flaxseed gel contains no synthetic preservatives, it will spoil in 5 to 7 days if left in the fridge. I make a big batch every 3 to 4 weeks to save time. I keep enough for one week in a glass jar in the fridge, and I freeze the rest in silicone ice cube trays or small freezer containers.
When you thaw it out, the consistency changes slightly (it can get a bit watery or lumpy), but if you give it a quick blend or just shake it up in a jar, it works perfectly. In fact, I sometimes find it works better after freezing because the concentrated mucilage separates slightly from excess water, making the cast even stronger.
It’s a bit of a learning curve, but for the sake of healthy hair, clear skin, and complete freedom from acrylate allergies, it’s worth the 15 minutes of effort every few weeks. If you want to check if your commercial hair products contain hidden acrylates, try running their ingredients through our free ingredient checker.